How to build a PC: A step-by-step guide
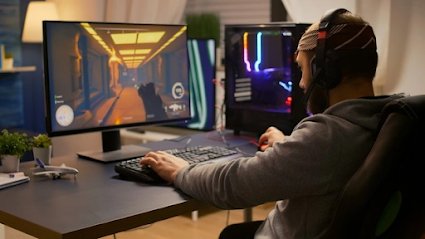
Building your own PC can sound intimidating and feel overwhelming, particularly if it is your first time. You definitely want to put it all together perfectly in the very first attempt. No matter how daunting it may seem to you right now, it is not as hard as appears to be.
You just need to plan things right, follow the steps, make the right connections, and you are all set! If you look at it the other way, building your own computer can be very exciting.
Still having doubts and don’t know where to begin? We’ve got you. Follow the step-by step process mentioned below and you will definitely be proud of the feeling once you accomplish it.
Make a list of what you need
Why you are building is a PC is a story for another day, but no matter what your requirement, you will need certain basic components to build one. They are:
A motherboard,
A CPU (central processing unit)
A Monitor
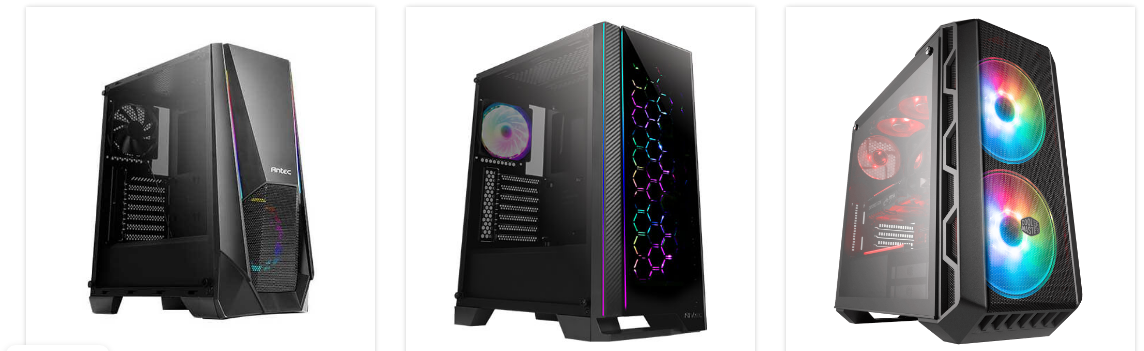
A Case
Memory
Storage
And, Power supply
If you are into video editing and gaming, you will also need a Graphics Processing Unit.
Also, you need to remember that when you build your own PC, you don’t have an operating system included in it. In case you want Windows Operating System, you will have to purchase the license from Microsoft or from another vendor. After that, you will have to make a USB key to install it.
Putting all the components together
For this part, make sure you have a clean working space with ample room. Lay the case flat on its side preferably on a wooden surface. Fit the screws and discharge the static buildup if any. Almost all of the components that you have got come with instruction manuals. Make the most of them.
Installation of the Motherboard andCPU
Installing the motherboard can seem tricky, but follow the instruction manual, and let piece fit into its place. The first step before you install your motherboard is seating your CPU.
Always remember that you never touch the sides of the chip on the CPU, as it can harm the contacts. Moving ahead, you first unlock the processor socket. Find a little golden triangle and line it up with the same symbol on your motherboard’s processor socket. After you lower the processor gently into the socket, lock the system by flipping the latch.
The shiny square of silicon in the center of the processor is where the heat sink will be placed. On the side which has the copper circle, it will be perfectly lined with the silicone square. You seat the heat sink with the help of a thermal paste. Line up the heat sink with the screws surrounding your processor.
After that, plug in the heat sink’s cooling fan near the processor socket. Once done, plug it in. Your CPU is installed!
Moving on to the easy part, with the help of the instructions, line up the screw holes in the case and the motherboard.
In order to install the power supply, look at the back of the case for a big empty square. This is where you will plug in your PC after all of this is done. Fix it in its place with screws.
Installing Your Storage and Memory
There are defined slots for installation of storage and memory. Your motherboard manual has all the information about it. Look for the vertical little sockets beside the CPU and line up your RAM sticks to slot them in.
Starting up and Installing the Windows
Once your motherboard and power supply is plugged in correctly, the last step is to hit the power button. If it starts, you have done it all right. If not, go through the points again, and see what have you missed. Have your Windows installed and you are all set to use your PC that you built on your own.
For any guidance regarding PCs, any other related hardware and software, the best game for PC, get in touch with the experts. Log on to GamesNComps and get all that you need to build your own computer. It is a one stop shop for all your computer and gaming needs. Visit the website now!


Get the best pc cases cooling fans.Cooling
ReplyDeleteLED Fans
Halo Fans
120mm Fans
160mm Fans
Watercooler
Thermal Compound
Modular
Brazen Gaming Chairs